Contact sales now: info@ecommercetemplates.com
Ecommerce Templates > General Help > FTP Upload using Filezilla
Once you have received your shopping cart software from Ecommerce Templates you are going to want to upload all the files and folders to your host. Some HTML editors like Dreamweaver have an in-built FTP utility but as older versions don't support modern server requirements the best solution is to use a standalone FTP client. In this tutorial we're going to explain how to use one of the most commonly used (and free) FTP programs to upload files, Filezilla.
The first thing you'll want to do is to download a copy of Filezilla. The download is available here, make sure you choose Filezilla Client.
Once unzipped, double click on the Filezilla icon on your desktop to launch the program.
Immediately you'll see the Filezilla screen is split into two halves. The left hand partition corresponds to your hard drive (local site), the right hand side corresponds to your host server (remote site). Once you have everything set up you can drag files and folders from your local site on the left to the remote site on the right.
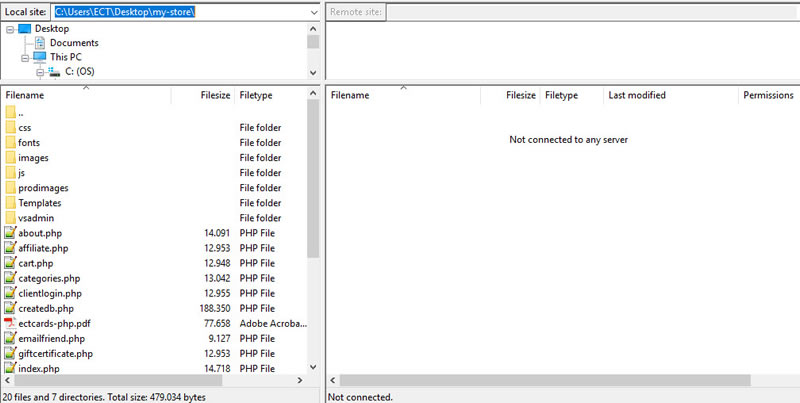
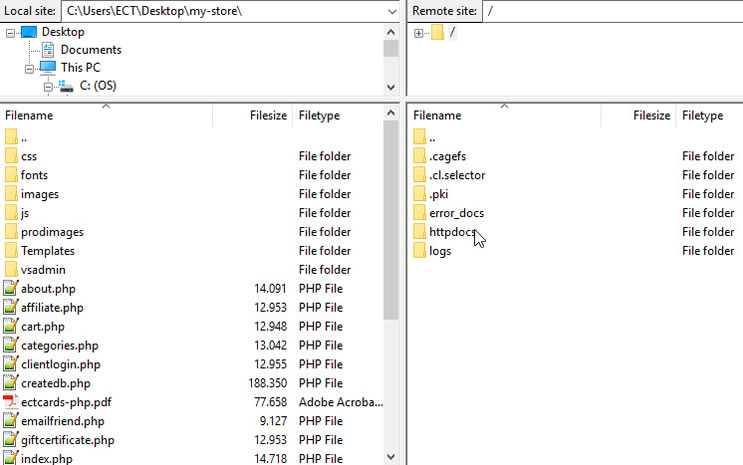
In the example above the store files are located in a folder on the desktop called /my-store/ - this is just an example and you can of course have your shopping cart files and folders anywhere you like on your hard drive. You can see the store files listed on the left hand side of the screen whilst the right hand side is blank as Filezilla isn't connected to any server. We will look at making that connection next.
When your first signed up for your hosting account your host will have sent a welcoming email either with the details of your FTP account or a link to the hosting control panel where you can set up new accounts. You will need those FTP details so you can plug them into Filezilla.
From the top menu of Filezilla, choose File > Site Manager and from the window that appears click on New Site
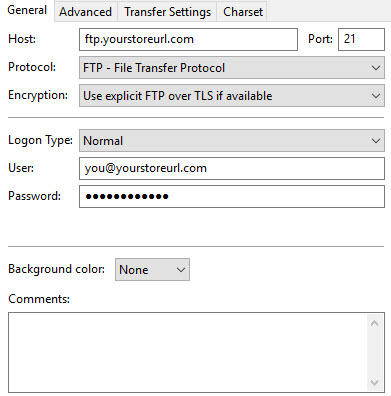
Enter your FTP details as provided by your host in the "General" tab. If you are not sure of the "Encryption" setting, check with your host.
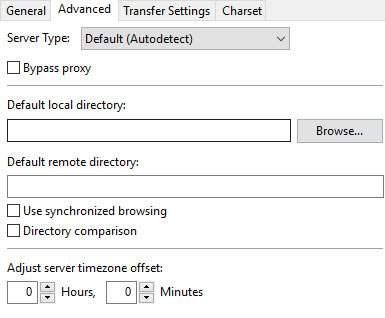
You can leave the Advanced Settings as the defaults unless you want to define the location of your local files and / or always open the remote server at a particular directory.
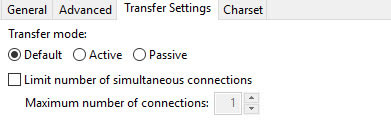
Unless your host specifically suggests setting Active or Passive as the Transfer Mode, you can just leave it as the Default setting.
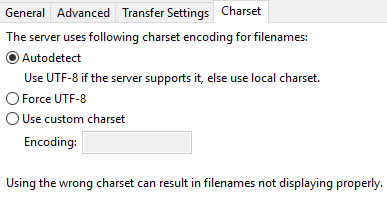
There shouldn't be any need to make edits in the Charset window.
Once you have entered all your settings, click on the Connect Button, that will connect Filezilla to your remote server and save all your settings in the Site Manager.
The right hand side pane of Filezilla should now show any files and folders present on the server. What you see there will vary from host to host but typically you'll want to look for a folder called /httpdocs/ or /www/ or /html/ or /wwwroot/
Double click on the folder and you'll be at the location where you want to upload your store files. This is called the Site Root.
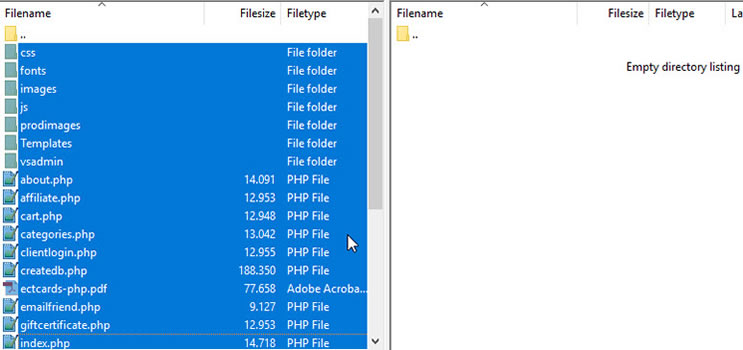
Now select all the files from your local site and drag them to remote site in the right hand pane
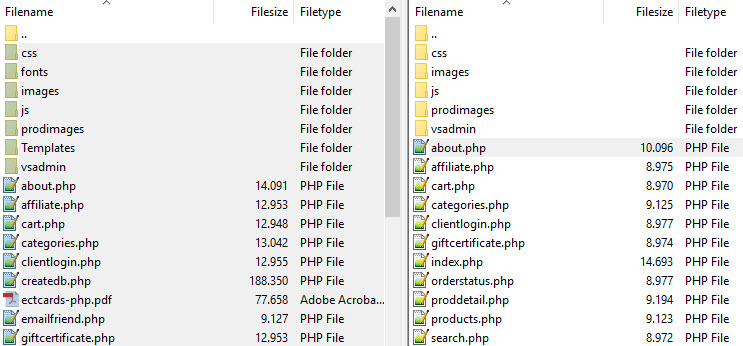
After a couple of minutes all your files should be transferred to the server and you'll see them listed in the remote site
Now you have your remote site set up, each time you want to upload new files, open Filezilla, click on Site Manager and then click on the site you have defined. That will open the connection and allow you to drag the files from your hard drive to the server. If you have made changes to several files, on the local site you might want to choose to order the files by Date Modified so you can see the dates of the files and only copy over those files that have just been changed.
Some hosts make the connection process much simpler by providing an XML file you can import into Filezilla with all the settings pre-defined for you. If they offer this service, download the XML file to your hard drive then in Filezilla go to the top menu and select File > Import and browse to where you saved the XML file.
If you are unsure of any of the FTP settings your host really should be able to help out and point you in the right direction.
There are a very large number of Filezilla YouTube tutorials out there which can prove very helpful.
If you have any questions about uploading store files, our developers will be happy to help out on the support forum.