Contact sales now: info@ecommercetemplates.com
Ecommerce Templates > General Help > Using Dreamweaver
Ecommerce Templates shopping cart software works perfectly with all versions of Dreamweaver, from 3 right through to the CS versions. We have regular Dreamweaver themes with the shopping cart already integrated as well as desktop / tablet / smartphone friendly Responsive Designs and Premium Responsive Designs.
Below we outline the steps to get started using your Dreamweaver shopping cart.
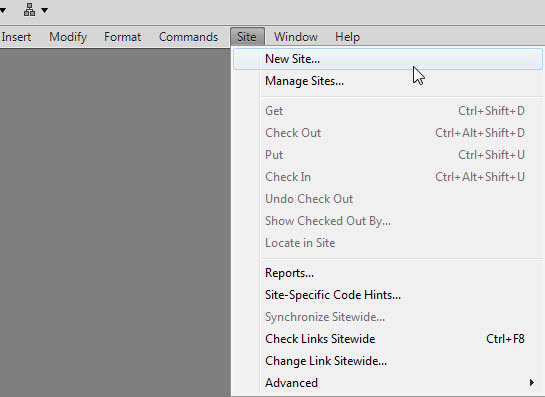
The first thing to do when you've opened up Dreamweaver is to define your site - go to Site > New Site from the top menu of Dreamweaver.
Give your ecommerce template site a name and browse to the folder you extracted the template to. For getting started you won't need to fill in any other information.

You'll find the package has some sample pages, the store .asp/php pages and a file called Main.dwt in the Templates folder. To make site-wide changes to the design, adding your company name, changing the menu etc. you'll need to work from this file. The news sections are often library files and these can be found in the Library folder. Once you've made the changes, save the file and you'll be prompted if you want to update all the files using this template or library file - agree to the prompt and you should be able to see the modifications you've made.
Now that you can see how the general design changes can be made, this is how you would proceed.
If your pages don't update after making a change to the dwt file, make sure your site has been defined as in the steps above. You can also go to Site > Advanced > Recreate Site Cache to make sure that Dreamweaver is recognizing all your files. Another option would be to close Dreamweaver, copy your store files to a new location and set up the site definition again.
If you are seeing code in design view it probably means that Dreamweaver is picking up the coding of the include files from the vsadmin/inc/ folder. You could remove the vsadmin folder from your local site but perhaps a better solution would be to go to Edit > Preferences > Invisible elements > uncheck the "server side includes" box - and show dynamic text as recordset field.
Remember that editable regions will need changing on a page by page basis. Typically the main content in the center of the page is editable but also the title / meta tags section at the top of the code - it's important to have unique content there on each page, reflecting the content so you wouldn't want that to be a global setting in the dwt file.
For help with uploading your store files via FTP, have a look at our Filezilla tutorial.

 Login Status